
Last updated October 30, 2026
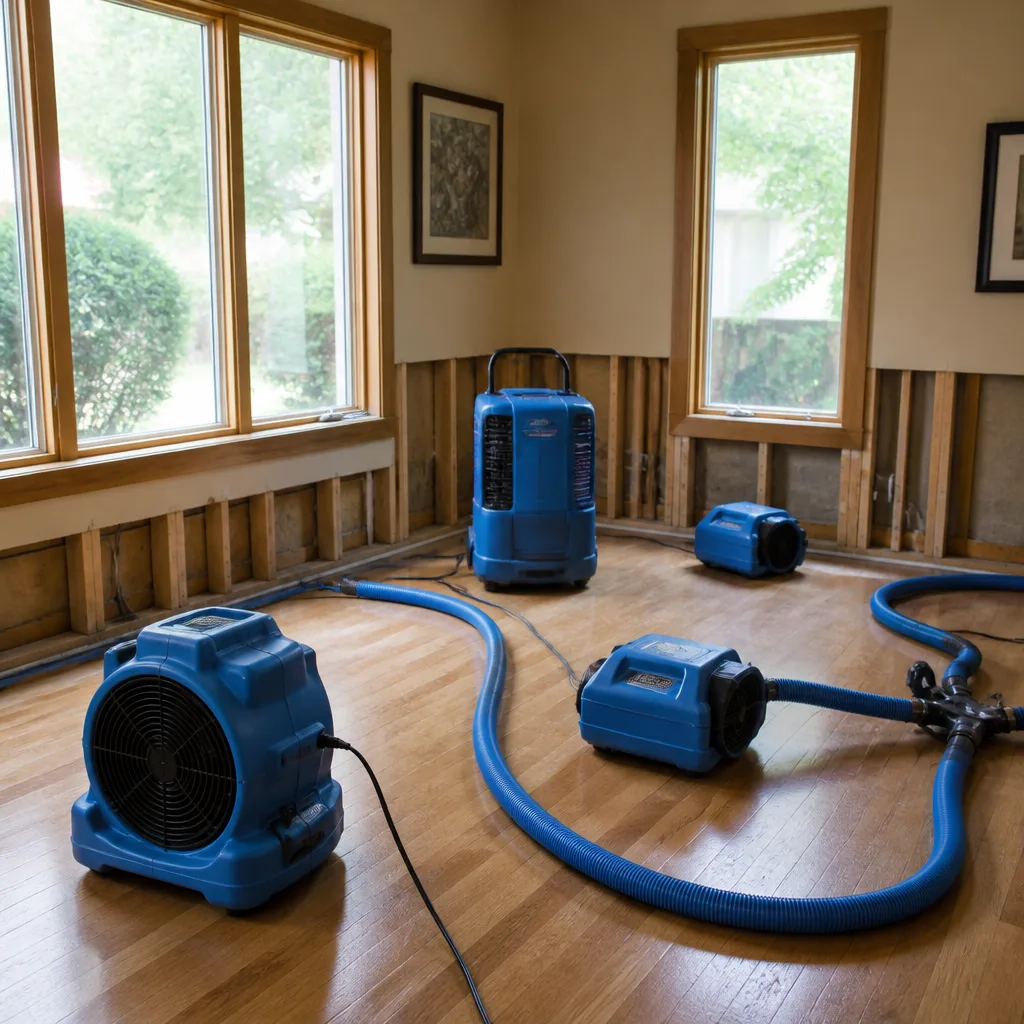 Water damage drying
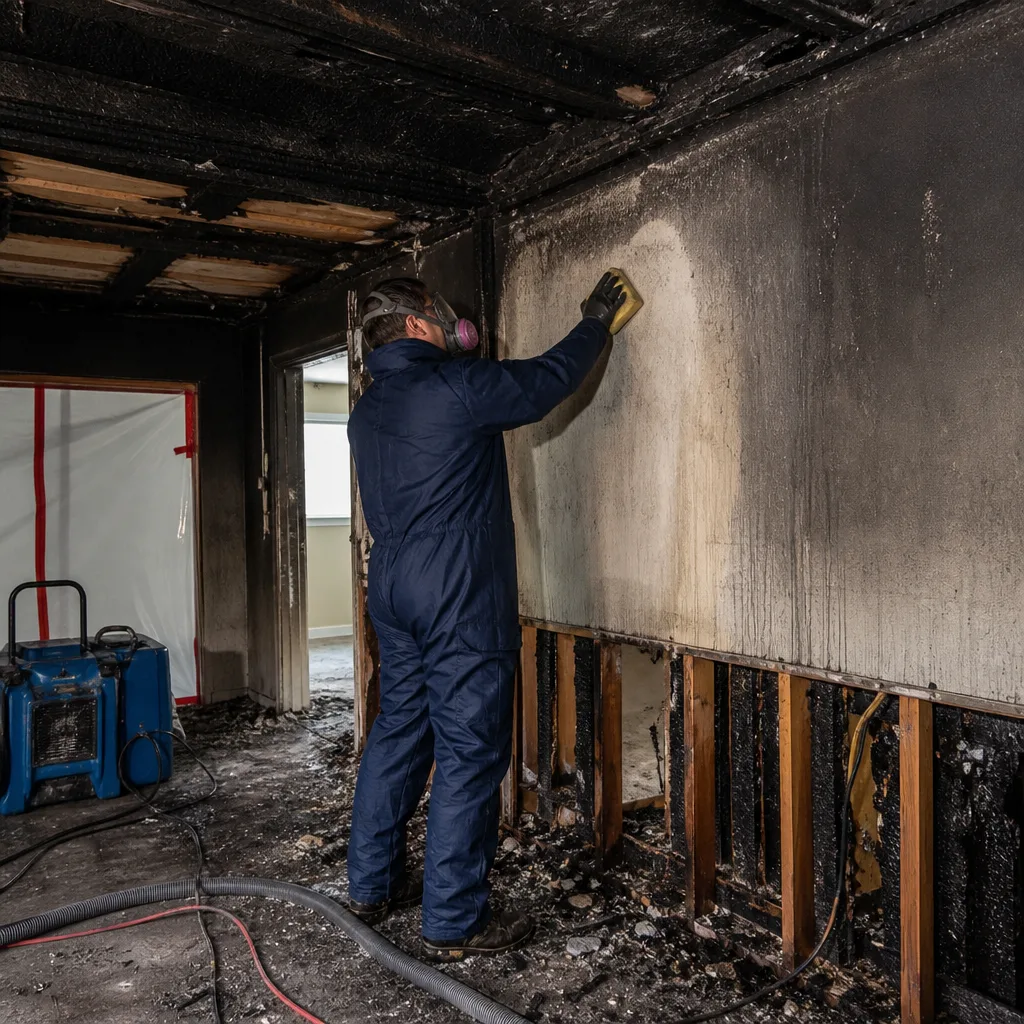
 Fire & smoke cleanup
 Mold remediation
 Storm response
 Sewage cleanup
 Reconstruction
Free visual inspection and a written scope of work before any mitigation begins - photos, moisture readings, and drying logs go in your claim file
The scope we write is the scope we bill. Anything new gets shown to you, in writing, before we touch it.
Get your free estimateWater Damage Restoration Troubleshooting: Common Problems and How to Fix Them
A dehumidifier running in a room does not mean the wall cavity behind it is drying. Moisture migrates through vapor pressure gradients, and without thermal imaging or pin meters inserted into framing, you’re measuring air, not wood. This is the single most common failure point in our Water Damage Restoration services, and it’s why homeowners in Temecula call us weeks after another crew “finished” the job, asking why the musty smell is back. This guide walks through the hidden failure points that cause mold, odor, and insurance disputes long after the equipment is picked up. We’ll cover how to verify drying is actually happening, what to do when your contractor wants to pull equipment too early, and how to troubleshoot the problems that most restoration companies won’t talk about.
Restoration work we handle
Quick Answer
The Complete Guide to Damage Restoration in Temecula explains how water damage restoration fails most often because drying is verified at the surface level instead of inside wall cavities, subfloors, and framing. If you’re troubleshooting a job that “isn’t drying,” demand pin-meter readings from inside the framing, confirm the equipment is sized correctly for the affected square footage, and check for the three most common hidden causes: a failed vapor barrier, a missed secondary water source, or inadequate airflow. When a musty odor returns 2 – 3 weeks after restoration, it’s almost always cavity moisture, not surface mold.
Table of Contents
- Why Most Water Damage Restoration Fails: The Cavity Problem
- How to Tell If Drying Equipment Is Undersized
- Why the Musty Odor Returns 2 – 3 Weeks Later
- Troubleshooting Persistent High Moisture Readings
- What to Do When Your Restoration Company Wants to Pull Equipment Too Early
- Common Homeowner Mistakes During the Drying Phase
- How Moisture Logs Work and Why They Matter for Insurance
- Common Mistakes to Avoid
- When to Call a Professional
- Frequently Asked Questions
- The Bottom Line
Why Most Water Damage Restoration Fails: The Cavity Problem
Water behaves like a living thing during a loss. It doesn’t just sit on surfaces where you can see it and wipe it up. It wicks into drywall, travels along base plates, soaks into subflooring, and migrates through capillary action into places no mop ever touches. In Temecula, where summer temperatures routinely top 95°F and relative humidity swings between 15% and 75% depending on the season, the drying equation gets even more complicated. Warm air holds more moisture, but air movement inside a sealed wall cavity is nearly zero without intervention.
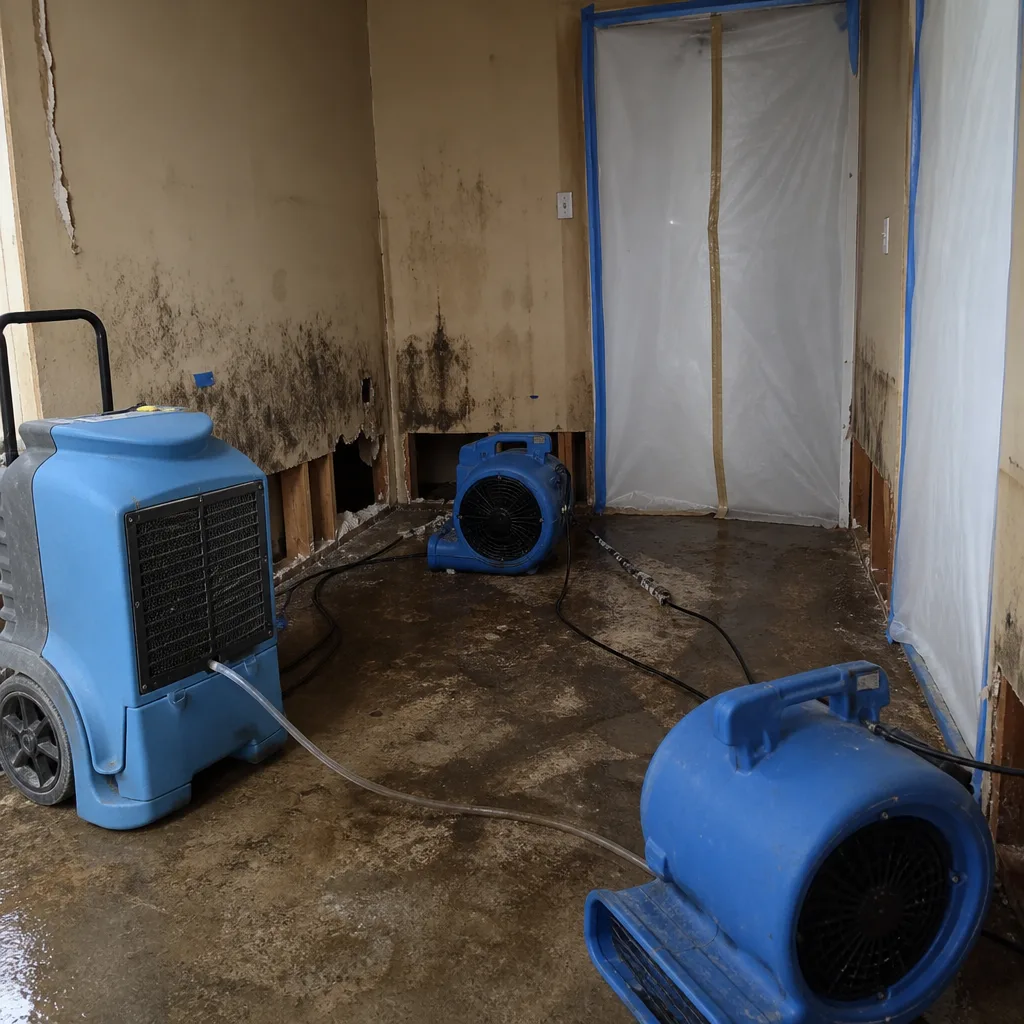
The core failure we see on jobs that “weren’t done right the first time” is simple: the previous restoration company dried the room, not the structure. They placed air movers across the floor, ran a dehumidifier for three days, took a moisture reading on the drywall surface, and called it complete. Meanwhile, the wall cavity behind that drywall still held 40% moisture content in the framing. Within weeks, that trapped moisture feeds mold growth inside the wall, and the homeowner smells it before they ever see it.
This matters because mold doesn’t need standing water. It needs sustained relative humidity above 60% at the material surface, a food source (drywall paper, wood, dust), and time. A wall cavity that never properly dried provides all three. The fix isn’t more time with the same equipment. It’s targeted drying, which means opening the cavity or using specialty systems that can move air through it. We run Fresh Start Water Damage home differently: every job gets moisture mapping, and every cavity that reads high gets a specific drying plan, not a guess.
How to Tell If Drying Equipment Is Undersized
Restoration drying is a numbers game, and the numbers are knowable. If you understand the basic ratios, you can spot a contractor cutting corners on day one, before the failed dry becomes your problem. The industry standard for drying a water loss requires specific cubic feet per minute (CFM) of airflow and specific pint-per-day dehumidifier capacity based on the affected square footage and the class of water loss.
Here are the numbers to know:
- Air mover CFM: A professional air mover should move between 2,500 and 5,000 CFM. You need roughly one air mover per 200 – 300 square feet of affected area, placed at 45-degree angles to walls to create a circular airflow pattern.
- Dehumidifier capacity: For a Class 2 water loss (the most common residential category, meaning significant water absorption into materials), you need approximately 1 pint of dehumidifier capacity per 50 – 100 cubic feet of affected space. A 15×20 foot room with 8-foot ceilings is 2,400 cubic feet, which means you need a dehumidifier rated at 24 – 48 pints per day minimum.
- Refrigerant vs. desiccant: Refrigerant dehumidifiers (like the Dri-Eaz and Phoenix units we run) are effective down to about 60°F and 40% relative humidity. Below that, you need desiccant units. In a Temecula winter with temperatures in the 40s and an unheated garage involved, a refrigerant unit alone will stall.
- Equipment density: If the restoration company shows up with two air movers and one small dehumidifier for a 1,200-square-foot flooded area, that equipment is undersized by at least 50%. Demand the math.
We use commercial-grade drying systems from Dri-Eaz and Phoenix on every job, not because the brand names sound good in a brochure, but because these units move the CFM and pull the pints per day that residential equipment simply can’t. A homeowner-grade dehumidifier from a hardware store pulls 20 – 30 pints per day on a good day. The Dri-Eaz units we deploy pull 70 – 130 pints per day. That’s the difference between a three-day dry and a two-week stall that leaves cavities wet.
Why the Musty Odor Returns 2 – 3 Weeks Later
The musty odor that returns two or three weeks after “completed” restoration is a diagnostic sign, not a mystery. It’s telling you that moisture remains inside a cavity, behind a baseboard, or under flooring, and that microbial growth is now active in that hidden space. Surface mold was never the problem. The problem is that the structural materials never reached drying goals before the walls were closed back up.
Here’s what’s happening biologically. When drywall and framing get wet, dormant mold spores already present in the materials begin to germinate within 24 – 48 hours under the right conditions. Even after the visible water is gone, if the material moisture content stays above 20%, the growth continues slowly. It’s not always visible. It may be inside the wall cavity, on the back side of the drywall, or in the insulation. You smell the microbial volatile organic compounds (MVOCs) before you ever see discoloration.
If you’re smelling that odor, here’s what to demand from your contractor or from a new contractor if the original one is not responsive:
- Open inspection holes in suspect walls. If the odor is strongest near the baseboard on an exterior wall, that’s the first wall to open. The inspection hole should be large enough to see the back side of the drywall and the framing.
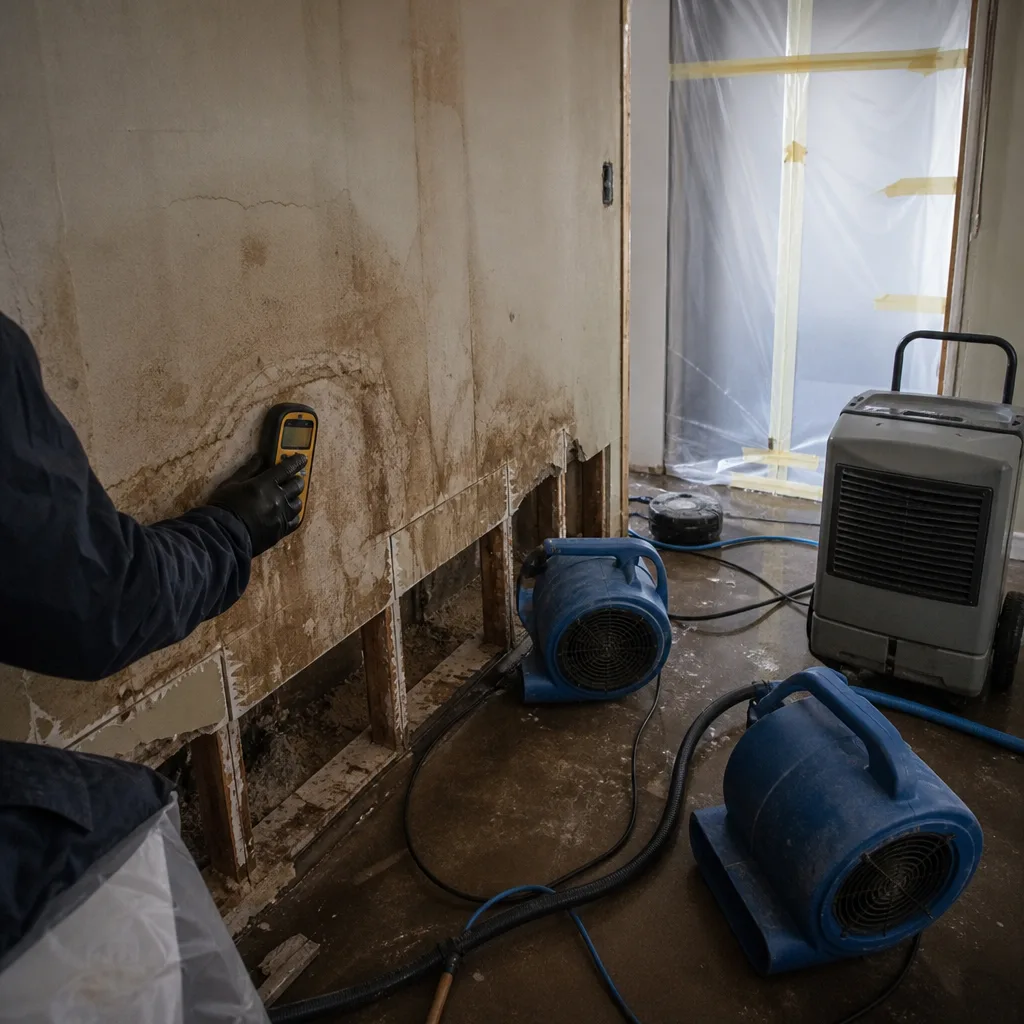
- Pin-meter readings on the exposed framing. Moisture content of wood framing should be below 16%, and ideally in the 8 – 12% range in Temecula’s dry climate. If the pin meter reads 25% or higher, the cavity was never dried, and the odor has a mechanical cause, not a mystery cause.
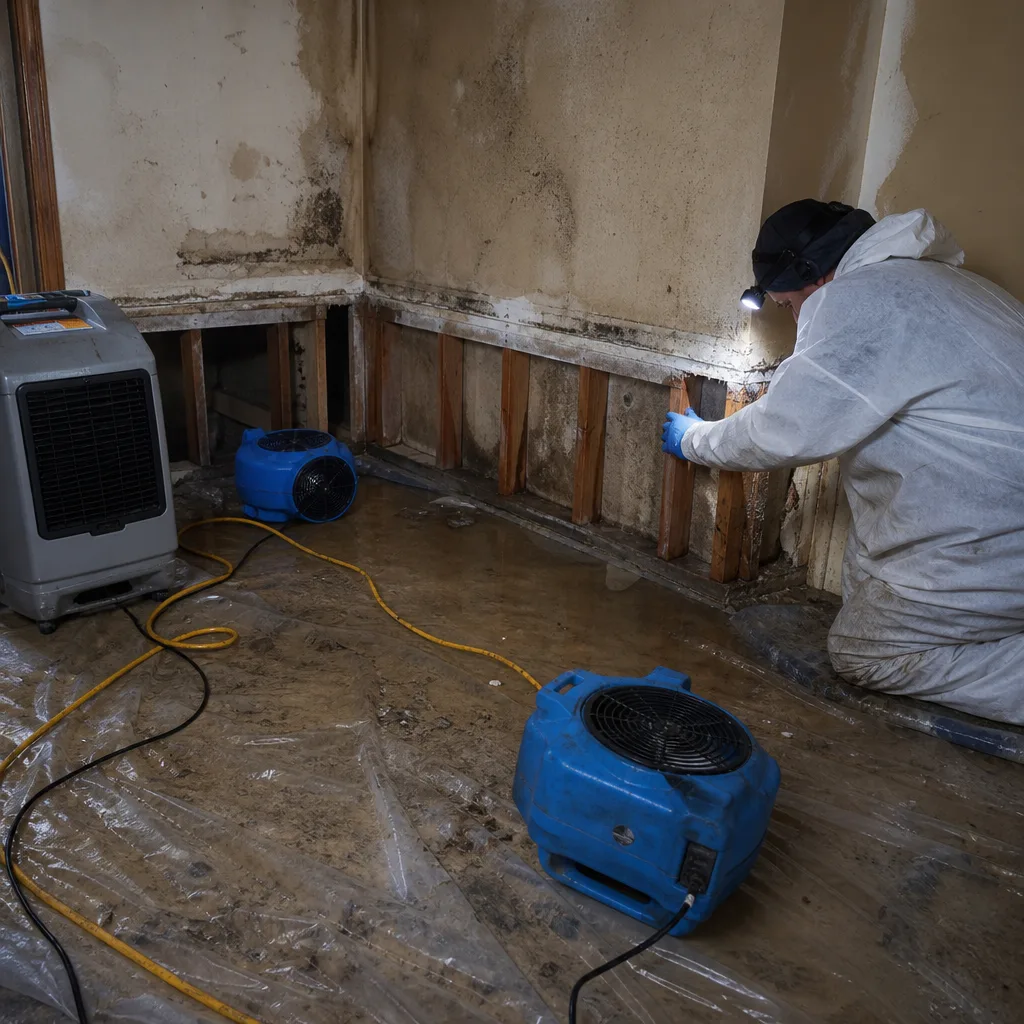
- Visual inspection for mold discoloration. What looks like black staining on the back of drywall is often Stachybotrys or Chaetomium, which require professional Mold Remediation in Temecula to remediate properly. Do not just spray bleach and close the wall.
In our experience, the odor returning is never a fluke. It’s a signal that drying was verified at the surface, not at the structure. The fix is reopening the affected area, drying the cavity properly, and in many cases, removing and replacing the affected drywall. We’ve walked into Temecula homes where the previous crew closed up a wall with framing at 32% moisture content. That wall was never going to dry on its own.
Troubleshooting Persistent High Moisture Readings
When moisture readings stay high despite running equipment, there are three causes that account for nearly every case we see. Isolating which one you’re dealing with determines the fix, and the fixes are very different. Here’s how to troubleshoot each.
Cause 1: Failed Vapor Barrier
In crawl spaces and under slab foundations, a failed vapor barrier lets ground moisture migrate upward into the structure. In Temecula, where many homes are slab-on-grade, the failure point is often a plumbing leak under the slab that soaked the soil beneath, or a missing vapor barrier in a vented crawl space. The fix is addressing the vapor drive source: repair the plumbing leak, install or repair the vapor barrier, and seal the crawl space if that’s the moisture source. No amount of drying equipment upstairs will fix a moisture source below the floor.
Cause 2: Missed Secondary Water Source
The original leak got fixed, but the water traveled. A supply line break under the kitchen sink often means water ran along the floor joists, soaked the insulation in the adjacent wall, and pooled in the corner of the room next door. If the restoration company only dried the kitchen, the adjacent wall stays wet, and moisture readings in that zone will never come down. The fix is a complete moisture map of the affected area and the surrounding rooms, not just the room where the water was visible.
Cause 3: Inadequate Airflow
Moisture can’t evaporate into still air. If the air movers are placed wrong, blocked by furniture, or simply not enough for the square footage, the drying stalls. This is the easiest problem to fix: reposition the air movers, remove obstructions, and confirm the CFM numbers from the equipment sizing section above. But it’s also the most common corner cut. One air mover in a flooded bedroom is not drying that room. It’s moving damp air in circles.
To isolate which cause you’re dealing with, you need data. A pin meter reading on the framing in multiple locations, a thermal imaging scan to see temperature anomalies inside the wall, and a check of the crawl space or slab for a moisture source. If your current contractor can’t produce that data, that’s your answer about why the job isn’t drying.
What to Do When Your Restoration Company Wants to Pull Equipment Too Early
This is one of the most frustrating positions a homeowner can be in: the restoration company says the job is done, you can still feel dampness or smell something off, and they’re ready to pick up the equipment and send the final invoice. Here’s the playbook for handling it without getting rolled over.
- Ask for the final moisture readings in writing. Every professional restoration company should provide a moisture log showing initial readings, daily readings, and final readings for each affected area. The final readings should show wood framing below 16% and drywall below 10 – 12%. If they won’t provide this, or if the numbers don’t meet those thresholds, do not sign the completion certificate.
- Document the refusal. Send an email, not a text, not a phone call. State that you’re concerned the drying goals have not been met, that you’re requesting continued monitoring, and that you do not authorize removal of the equipment. This creates a paper trail your insurance company can use.
- Escalate through your insurance adjuster. Your adjuster has significant leverage. The restoration company wants to get paid, and the insurer is the one paying. If the adjuster sees a documented dispute with moisture readings that don’t meet standard drying goals, they can withhold payment or require the contractor to continue service. Tell your adjuster exactly what you documented and what the contractor is claiming in response.
- Get a second opinion before the equipment leaves. If you suspect the job isn’t dry, bring in another IICRC-certified firm to take independent readings while the equipment is still running. This gives you a professional counter-assessment and, if needed, a professional opinion for your claim or for any dispute with the original contractor.
What you should not do is sign anything that says you’re satisfied with the work if you’re not. The moment you sign the completion certificate, your leverage drops to almost nothing. And once the equipment is gone and the walls are closed, proving the previous contractor failed becomes much harder. This is the moment to be direct and document everything.
Common Homeowner Mistakes During the Drying Phase
Homeowners, understandably, want the equipment gone and their lives back. But several common homeowner actions during the drying phase actually invalidate moisture logs and complicate insurance claims. These are the mistakes we see most often on Temecula jobs, and each one is avoidable—see more guides & resources for additional homeowner tips.
- Turning off the equipment at night or when leaving the house. The drying process requires continuous airflow and dehumidification. Every hour the equipment is off is an hour the drying clock pauses, and the moisture log will show a stall. Insurance adjusters look for this. If the equipment was off for 8 hours overnight, your claim for additional drying time gets harder to justify.
- Opening windows to “help it dry.” In Temecula’s summer, outside air might be 100°F with 15% humidity, which can help. But in late fall or winter, outside air can be 55°F with 70% humidity, which actively slows the drying. Unless you know the outdoor dew point, keep the windows closed and let the dehumidifier do its job.
- Moving air movers or repositioning equipment. The equipment placement is calculated based on airflow patterns and the specific moisture map of the affected area. Moving an air mover because it’s in the way changes the drying equation and can leave a wall section undried.
- Not reporting new water or new leaks. If you notice water in an area that wasn’t originally affected, or if the original source appears to be leaking again, tell the restoration crew immediately. A missed secondary source is one of the top three causes of failed drying, and you’re the one who’s home all day.
- Closing off the affected room with a towel under the door. The drying system needs air exchange. Sealing off the room traps moisture and stalls the process. Leave the door open or use the venting setup the restoration company set up.
- Pulling the plug to use the outlet. Restoration equipment draws significant amperage. Unplugging an air mover or dehumidifier to run a vacuum or a space heater shuts down the drying process. Use a different outlet on a different circuit if you need power.
None of these mistakes makes you a bad homeowner. They’re instinctive responses to a disruptive situation. But each one has a measurable effect on the drying outcome, and some of them give your insurance company a reason to question the claim. The restoration company’s moisture log is a legal document in a claim dispute, and gaps in the drying record are almost always flagged.
How Moisture Logs Work and Why They Matter for Insurance
A moisture log is the single most important document in a water damage restoration claim. It’s the daily record of moisture readings taken from specific points throughout the affected area: the floor, the base of the walls, the wall cavities, and the framing. It shows the initial readings on day one, the readings at each daily interval, and the final readings when the job is complete. When there’s a dispute about whether the job was done right, the moisture log is the evidence.
Insurance adjusters look at moisture logs for specific patterns. A good log shows a steady, measurable decline in moisture content across all affected points over the drying period. A bad log shows flat line readings or readings that bounce around, which either means the equipment wasn’t working, the equipment was turned off, or the readings were taken incorrectly. A missing log is worse: it means the restoration company didn’t document the drying process, which is a red flag for the entire claim.
Here’s what you should expect to see in a properly documented moisture log:
- Initial readings for every affected area, taken with a pin meter inserted into framing, not just a non-invasive meter held against the drywall surface.
- Daily readings at the same points, so you can see the drying curve over time.
- Final readings that meet industry drying standards: wood below 16% moisture content, drywall below 10 – 12%.
- Readings from inside wall cavities and subfloor spaces, not just the surface of the drywall or the top of the flooring.
If the restoration company can’t or won’t produce a moisture log, that’s a serious problem. Without documentation, the insurance company has no way to verify the job was completed properly, and you have no way to hold the contractor accountable if the odor returns. This is one of the reasons we run Water Damage Restoration in Temecula with moisture mapping as a standard part of every job. No log, no closure.
Common Mistakes to Avoid
- Assuming surface dryness means the job is done. The drywall surface can read 8% while the framing behind it reads 28%. Surface readings alone are how restoration companies get away with pulling equipment too early. Always ask for cavity readings.
- Accepting “we’ll just leave the fans another day” as a fix. If the drying has stalled, another day with the same undersized equipment won’t fix it. The fix is diagnosing the stall cause: vapor barrier, secondary source, or airflow.
- Not asking for the equipment sizing math. You have the right to know why the contractor placed a specific number of air movers and dehumidifiers. If they can’t explain the CFM and pint-per-day calculations, they’re guessing.
- Closing up walls before independent verification. The most expensive mistake in water damage restoration is authorizing rebuild before you have documented final moisture readings that meet drying standards. Once the drywall is up and painted, the evidence is gone.
- Not documenting the dispute in writing. Phone calls don’t create a paper trail. Emails do. If you’re arguing with a contractor about whether the job is dry, put every single point in writing and copy your adjuster.
- Using consumer-grade dehumidifiers to finish the job. A hardware store dehumidifier pulls 20 – 30 pints per day. A commercial Dri-Eaz unit pulls 70 – 130. If the contractor’s equipment leaves and you’re still drying with a homeowner unit, the job isn’t finished, it’s abandoned.
- Ignoring a musty odor because it’s “faint.” MVOC odors indicate active microbial growth. A faint odor is still an odor, and it will get stronger. The time to address it is now, not when the smell is undeniable and the colony is larger.
When to Call a Professional
You should call a professional water damage restoration company if you’re seeing any of these signs: moisture readings that won’t come down after 3 – 4 days of drying, a musty odor that persists or returns, visible mold growth on drywall or framing, water that spread into multiple rooms or into the wall cavities, or a contractor who can’t produce a moisture log. The situations where DIY drying makes sense are small, contained spills on hard surfaces with no absorption into building materials. Once water has soaked into drywall, padding, subfloor, or framing, you’re beyond homeowner territory. Fresh Start Water Damage offers free estimates in Temecula. Call (844) 878-6356 if you’re not sure whether your drying job is on track.
Frequently Asked Questions
Most residential water losses dry in 3 – 5 days with properly sized commercial equipment and professional monitoring. Larger losses, Class 3 or Class 4 water, or losses involving wall cavities and subfloors can take 7 – 10 days or longer. If your contractor is still saying “just a few more days” after a week with no documented progress in the moisture log, that’s a stall, not a drying curve.
Wood framing should be at or below 16% moisture content after restoration, and ideally in the 8 – 12% range in Temecula’s climate. Readings above 20% indicate active moisture that will support mold growth. Always ask for pin-meter readings from inside the framing, not just surface readings.
Insurance typically covers the original water damage and the resulting restoration, but a dispute over a failed restoration is a different matter. If the original contractor pulled equipment too early and mold developed as a result, your claim becomes more complicated. Document everything, keep your moisture logs, and coordinate with your adjuster before signing any completion paperwork. A second opinion from a certified firm can be the evidence your adjuster needs.
A musty smell after restoration means moisture remains in a hidden cavity or material, and microbial growth is active. It’s a diagnostic sign of incomplete drying, not a surface cleaning problem. The fix is reopening the affected area, drying the cavity, and remediating any growth that occurred.
For small, contained spills on hard surfaces with no absorption into drywall, flooring, or framing, homeowner drying with fans and a dehumidifier can work. Once water has wicked into building materials or traveled beyond the visible spill area, the drying requires professional equipment and moisture mapping. In Temecula’s summer heat, unaddressed moisture in cavities becomes a mold problem within 48 hours.
Red flags include: no moisture log, no initial moisture readings, equipment that’s clearly undersized for the affected area, refusal to take cavity readings, and pressure to sign a completion certificate before you’ve seen the final numbers. A professional IICRC-certified company documents every reading and can explain the drying plan in plain language, as covered in Choosing the Right Damage Restoration Brand: A Buyer’s Guide for Temecula.
The Bottom Line
Water damage restoration fails when drying is verified at the surface instead of inside the structure. The wall cavity, the subfloor, and the framing are where mold starts, where odor returns, and where insurance disputes begin. If your job isn’t drying, the cause is almost always one of three things: a failed vapor barrier, a missed secondary water source, or inadequate airflow. Document everything. Demand cavity readings. And never sign a completion certificate until the moisture log shows wood below 16% and drywall below 10 – 12%. The equipment matters, the data matters more, and the difference between a dry room and a dry structure is everything.
Written by the team at Fresh Start Water Damage, serving Temecula since 2017.
See the difference
 Before
 After
 Before
 After
 Before
 After